学ぶ How to make a fire hoop - Fire hoop

Full Size Image Download (640px x 480px)
How to make your own gear - Fire hoop
38,396 views Media uploaded by HOP on 29 Sep, 2010Flint_413
GOLD Member since Jul 2009
Published on 14 Sep, 2010
Hello, I'm here to teach you the way that I built my fire hoop. Here are the tools you will need:
Thick cable (or aviation cable can be thinner and still used. It will be lighter as well)
2 inch wide kevlar (From HoP of course! Its the best)
A basic hoop (160 psi 3/4" poly tubing)
A drill press (borrow a friends if you need to)
Nipple attachements (as wide as your cable, and as many as the number of spines you are going to have)
Epoxy (that bonds metal)
Pretty tape! (cloth or gaffer tape adds good grip)
First off, make your wicks. I used 10 inches of thick cable for each spine, and 2 inch wide kevlar for the wicking. I rolled them and then sewed them with kevlar thread. At this part, use your discretion as to the size of wick you would like this is really up to the users comfort level. I use giant wicks cause it fits my personality.
...................................................................
Next you need to make a basic hoop (see hoop building tutorial)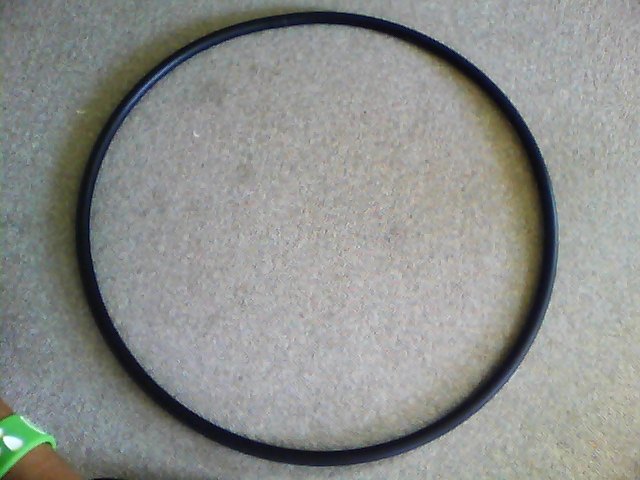
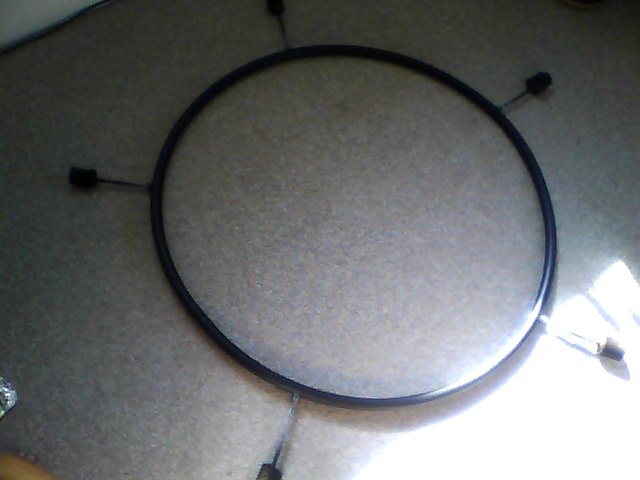
Then, using a drill press, drill holes equal to the diameter of the nipple piece in 5 places, equal distance apart (use a tape measure to ensure they are equal distance). Remember to ONLY DRILL THROUGH THE TOP PART OF THE TUBING!!!! Not through the entire tube. Only the top part.
Screw the nipple pieces into the holes that you drilled. Make sure you screw them in as tight as possible.
Next, mix some steel epoxy (or any NON FLAMMABLE, epoxy that fuzes metal together) and apply it to the bottom of your wick-spine and on the inside of the nipple piece. Insert wick into nipple piece and hold steady until epoxy sets. Repeat for all wicks. Now at this point if you have any epoxy left over, I'd apply it to the edges where they nipple pieces screw into the tubing. The epoxy I used bonded to both metal and plastic. I dont know if this is necessary but I did it anyway. Dont want spines flying off now do we?
As far as bare bone hoops go, TADAH! You're done.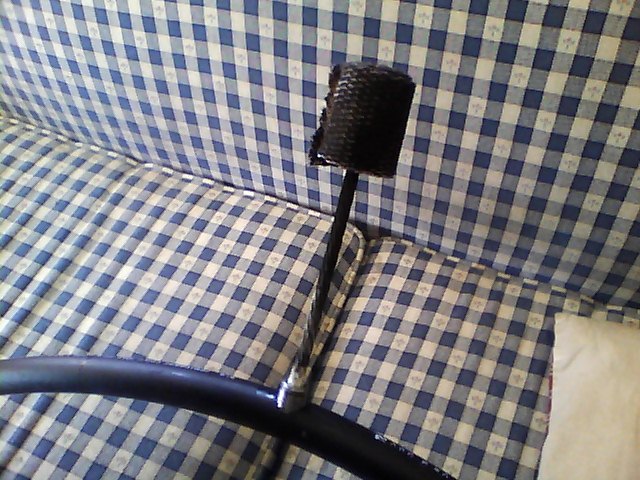
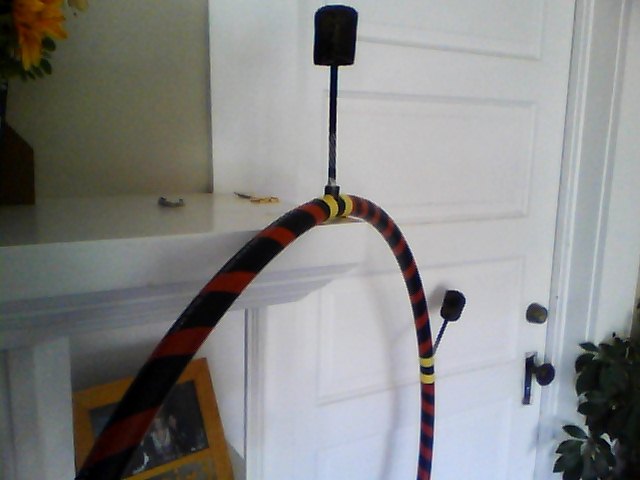
But no one likes a bare hoop. So tape it pretty! 
Now for some added safety, I taped over the base of the wicks to anchor it. If the epoxy splits or something it will save a member of your audience from taking a flaming wick to the head. TADAH!!! Now enjoy your fire hoop.
| Jennylyn Member #123943 Reged: Dec 2010 |
So i'm looking to make my first Fire Hoop, and i'm wondering how sturdy the epoxy is at holding in the wick. I'm worried that it would heat up and come loose... Is there any other way to secure it into the hoop? |
| misskai Member #137232 Reged: Aug 2011 |
I have some questions about your wicks. Are you simply wrapping the kevlar around the cable and then sewing it to itself? How did you attach the kevlar to the cable securely? |
© 1998 - 2024 Home of Poi

All prices converted to United States dollars using XE.com